


How to Use a Water Flosser: Step-by-Step Guide for Beginners
Figuring out how to use a water flosser for the first time can feel a little confusing—but it doesn’t have to be. It’s actually one of the easiest ways to keep your teeth and gums clean, especially if flossing with string always felt uncomfortable. Water flossers are gentle, fast, and surprisingly satisfying to use once you get the hang of it. Stick with it, and you’ll see the difference in your smile.
How to Use a Water Flosser Step by Step
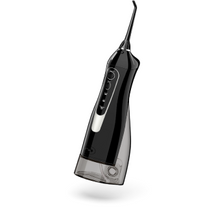
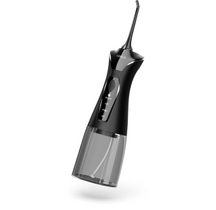
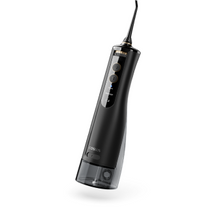
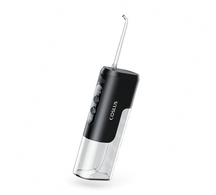
If you’re new to using a water flosser, it might feel a bit unusual at first—but don’t worry, it’s a quick and easy way to maintain great oral hygiene. A water flosser uses a stream of water to remove plaque and food particles from between your teeth and along your gumline. This is especially helpful for people with braces, implants, or anyone who finds traditional flossing uncomfortable..
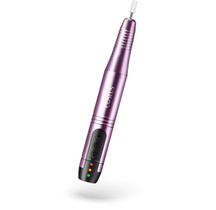
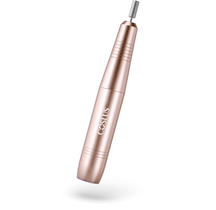
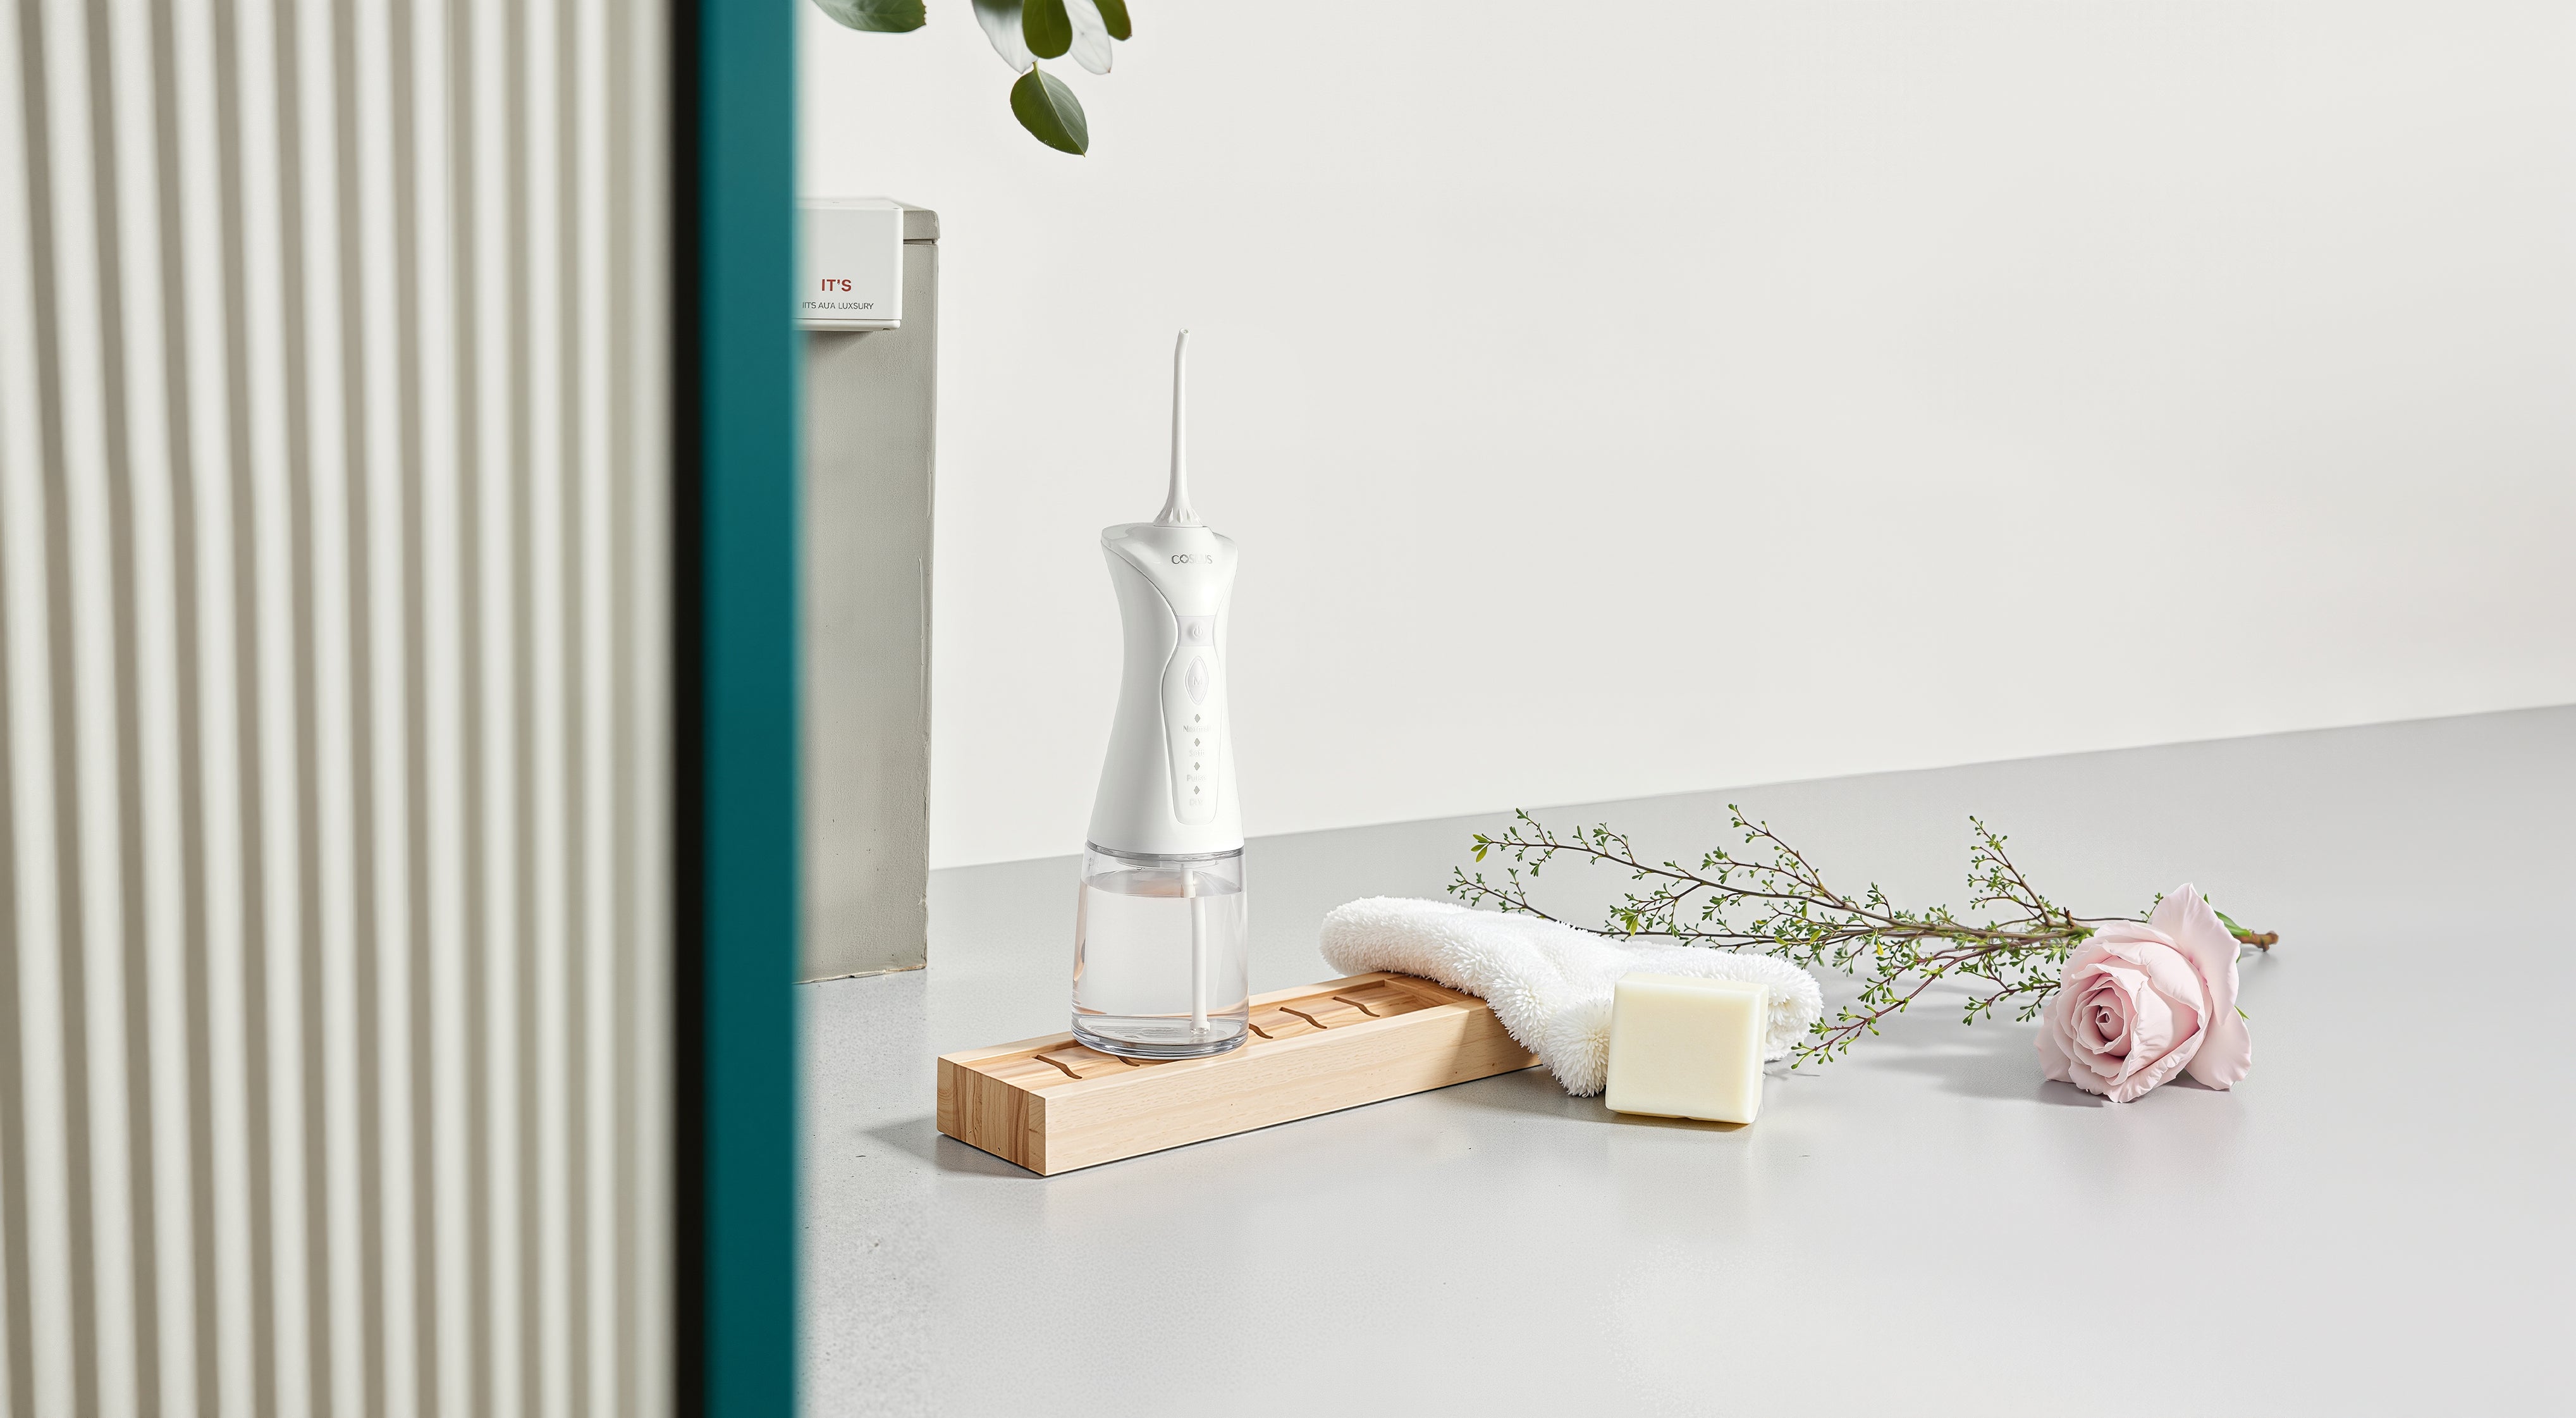
1. Fill the Reservoir
Begin by filling the water tank with warm water—this is easier on your gums compared to cold water. Be certain to tightly close the lid after filling and attach the flosser tip to the handle, making sure it's firmly in place. If your model has variable pressure, start with the lowest pressure to ensure that it's comfortable.
2. Position Yourself Properly
To prevent splashing, lean forward slightly over the sink prior to starting. Place the tip in your mouth prior to turning on the device and tip your head forward slightly to allow control of the water flow. Allow your lips to remain lightly closed; this will keep splashing from occurring while enabling you to direct the water specifically along your gumline at a 90-degree angle.
3. Move Along the Gumline Gently
Turn on the device and start to move the tip along your gums slowly. Stop for a second or two between each tooth to let the water clean properly. Try to keep a constant stream and not to rush—this ensures you are getting a good, deep clean while keeping your gums safe from irritation.
4. Increase Pressure Gradually
As you get used to it, you can apply more pressure for a stronger clean. Pay special attention to the teeth in the back or those that are more difficult to reach, where food tends to accumulate. Go slow; too much pressure too quickly can be painful, so ease up as you need to.
5. Turn Off and Clean Up
When you're done, switch the device off before you take the tip out of your mouth. Rinse your mouth to remove any leftover debris, then drain the reservoir. Last, wipe the water flosser dry—this will keep it from building up and have it ready for the next time you need it.
What Are the Best Tips for Using a Water Flosser Effectively?
It is easy to get going with a water flosser, but some clever habits will significantly improve its performance. These tips, which are particularly useful if you are new to using one or have braces, implants, or sensitive gums, are perfect for beginners.
Tip 1: Start with low pressure
Always start on the lowest pressure. If the water jet is too forceful at the beginning, it may irritate your gums or cause you to flinch. A slow flow allows your mouth to get used to it, particularly if your gums are sensitive or if you're recuperating from dental procedures. After getting comfortable, you can increase the pressure gradually.
Tip 2: Add mouthwash to the tank
If your water flosser permits, combine some alcohol-free mouthwash with water in the reservoir. It leaves a refreshing sensation and might kill additional bacteria. Don't overdo it, though—consult your flosser's instructions to prevent clogging or harming the device.
Tip 3: Floss after brushing
Water flossing is most effective after brushing your teeth. Brushing gets food and plaque off the surface, allowing the stream of water to penetrate deeper between teeth and along your gumline. This is especially true when using an electric toothbrush, which excels at plaque removal. Brushing first also helps keep your routine short and simple.
Tip 4: Clean your flosser once a week
Empty the tank after each use and leave the lid open to dry. Rinse the reservoir with vinegar and water once a week or according to your flosser's cleaning instructions. This will prevent mold, bacteria, and mineral deposits, which will keep the device functioning properly and safe to use.
Tip 5: Use special tips if you need them
If you have braces, implants, or bridges, consider using a tip designed for your dental situation. Orthodontic tips are shaped to clean around wires, while implant tips are softer and gentler. These attachments make flossing easier and more comfortable in areas where string floss struggles.
Consistency matters more than perfection. Daily use helps prevent plaque buildup and keeps your gums healthy—even if you’re still learning the ropes. Stick with it, and it’ll quickly become a habit you don’t want to skip.
What Are the Common Water Flosser Mistakes to Avoid?
Water flossers are easy to use once you get the hang of them, but small mistakes can lead to discomfort or poor results. If you're new to water flossing, here are the most common problems beginners run into—and how to fix them quickly.
- Starting with high pressure: It might seem better to go full power, but high pressure can irritate your gums or even cause bleeding. Begin on the lowest setting and work your way up as your mouth gets used to the pressure.
- Flossing too quickly: Moving the tip too fast doesn’t give the water enough time to clean between your teeth. Go slowly along the gumline, pausing briefly between each tooth to get the best results.
- Skipping back teeth: The molars in the back are easy to miss, but they’re also where food and plaque tend to collect. Make sure to reach all the way to the back on both sides of your mouth.
- Not cleaning the device: Leaving water in the tank or skipping regular cleaning can lead to mold or bacteria buildup. Rinse the tank daily and deep-clean the unit once a week to keep it safe and effective.
- Using the wrong tip: Different flosser tips are made for different needs. If you have braces or implants, using a general tip may not clean well. Always check which tip is best for your teeth and gums.
Avoiding these small mistakes helps your water flosser work better—and keeps your mouth feeling fresher every day.
Make the Water Flosser Part of Your Daily Routine
Water flossers are not only easier—they're sort of fun to use after you get the technique down. Now that you know the step-by-step way to use a water flosser, it's simpler to develop a routine that's easy. Keep at it every day, particularly after brushing, and you'll feel the difference in no time. And if you haven't already found your model of choice, this could be the perfect time to give one a spin.
FAQ
Q1: Can I use a water flosser instead of regular floss?
Yes, most people can. If you use your water flosser correctly every day, it can replace string floss. Some dentists still recommend using both once in a while for a deeper clean.
Q2: Do I floss prior to or after brushing?
Floss after brushing. Brushing first clears the surface so the water flosser can rinse out whatever is left between your teeth. It's a cleaner and more efficient routine.
Q3: Can children use a water flosser?
Yes, most children are able to use a water flosser under adult supervision. Kids aged 6 and older typically possess the required motor skills, particularly if the product has a gentle mode and a child-friendly tip. Always consult your child's dentist first.
Q4: How often do I need to use a water flosser?
Use it once a day, ideally at night after brushing. It helps to clear away leftover food and plaque while sleeping. In case you have gum issues, implants, or braces, everyday use is even more essential.
Q5: Is a water flosser preferable to string floss?
It depends. They both clean well, but water flossers are more comfortable and easier to use—especially if you wear braces or have sensitive gums. Most users find them quicker and stick to flossing more because of them.
Q6: Is it safe to place mouthwash in the tank?
It's safe to include alcohol-free mouthwash in the water tank if your flosser manual permits it. Simply mix a small amount with water to prevent buildup or clogging. This will provide a fresh, clean feeling in your mouth in addition to including antibacterial advantages.